 EN

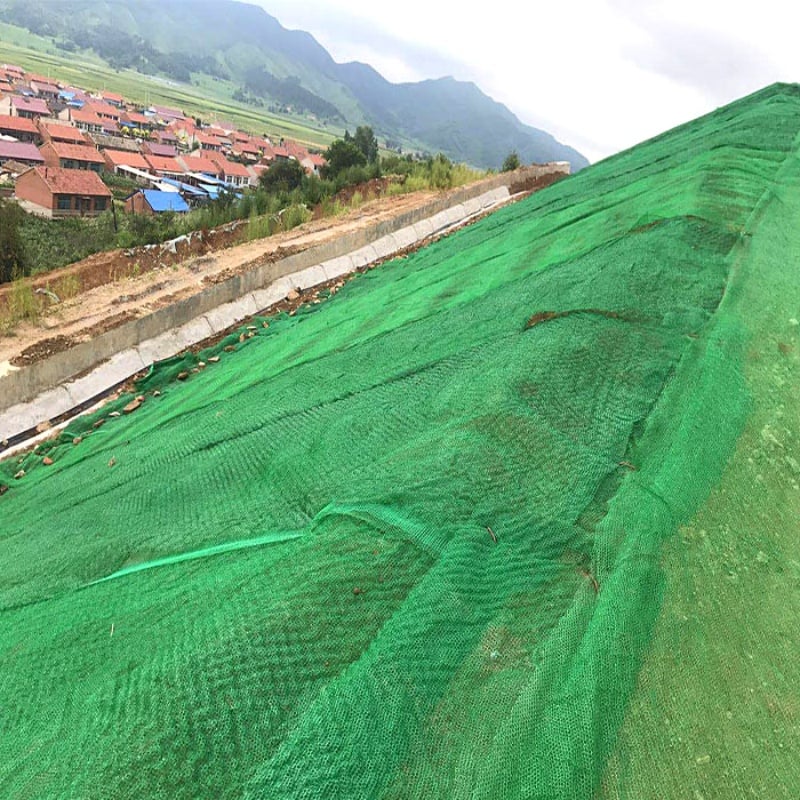
In the installation of 3D Geomats, adequate adhesion is essential for their performance. At ROAD, our company has collated a list of these tips to ensure your installation is successful and the Geomats remain in place for optimal performance.
Guidance on Proper 3D Geomat Installations So That It Greatly Sticks to Soil
Proper Installation of 3D Geomat is Critical to their Effectiveness. Remember one thing: Install it only after you have prepped the surface well. That is clearing away loose dirt, rocks or debris that could interfere with the Geomat sticking down well. By taking the time to clean up the area, you can guarantee there will be a nice uniform surface for the Geomat to attach itself to and that ultimately means it’ll stay in place much longer.
A few other tips: Be sure to use the appropriate adhesive. Geotextiles are not all the same, and using the wrong one can cause the Geomat to not adhere properly. Be sure to use the type of adhesive recommended by the manufacturer and to apply according to manufacturer instructions so that the Geomat adheres well to the ground.
It is also important to correctly anchor the Geomat in order to achieve highest adhesion. The Geomat can be anchored or staked into place to minimize shifting and lifting under high wind or water flow circumstances. When you staple the Geomat down, this will help keep it in place and continue to do its job of erosion control or overspill support.
How to Guarantee 3D Geomat is Attached Firmly When Working with it
It is important to follow the manufacturer's instruction for the installation of 3D Geomats that right contact procedures are observed. This includes applying the right adhesive, properly preparing your surface and securing the Geomat in place. By following these steps, you will be able to help guarantee that the Geomat itself stays in its place and that it does what it is designed to do.
One method for a good bonded application is to make sure the weather is right before laying it down. If the room is too hot or humid, this will cause the glue not to bond as well. By selecting a dry, moderate day to install it, you can make sure the Geomat will adhere properly and remain in place for a long time.
Periodic maintenance and checks are also important to improve the adhesion of 3D Geomat material. After a certain period time the Geomat may degrade or become unsecured not sticking to the surface. Regular inspections and repairs, then, can both help to extend the Geomat's lifespan and maintain the erosion control or vegetation support that you rely on it for.
With these tips in mind and allowing plenty of time to install and maintain your 3D Geomats the right way, you can prevent poor adhesion and realize years of performance. The ROAD team is with you for all of it, right through your Geomat installation.
Typical Adhesion Problems During 3D Geomat Installation
Whether applying 3D Geomat, the bonding is key to a successful and lasting project. However there are a few issues which are often found when installing and this can have implications with adherence. Poor surface preparation is one of the most common cause, where dirty or unclean water are used to wet the surface before Geomat application. It can interfere with the adhesive sticking to the surface, and cause them to peel away or fall off in time. Uneven or thin application of the adhesive is yet another problem and can lead to poor adhesion and failure of a bond. Environmental conditions also may influence adhesion, so you should take those into account when installing.
Best Way to Glue Down 3D Geomat Installation
There are some best practices to make sure of a good adhesion during the installation of 3D Geomat. After you have carefully washed and dried the surface, in theory you’re ready for the Geomat. Thy will help to get rid of any dirt, debris or oil which may keep the adhesive from adhering. Furthermore, applying a primer or bonding agent may enhance adhesion and promote gripping of the Geomat to the surface. Be sure to read and follow the manufacturer’s instructions when using an adhesive, apply it well both evenly and generously to create a strong bond. Lastly, take into account outside environment like temperature and humidity, and when you apply the Geomat, please do this in the best condition for good adhesion.
Best Tips for 3D Geomat Installation
Some top tips for a successful 3D Geomat installation With AdhesionFor your 3D Geomat installation to be a success, with proper adhesion, there are some tops tips you need to bear in mind. First and foremost, consult the manufacturer’s recommended guidelines for surface preparation, adhesive application and installation methods. This will aid in ensuring that the Geomat is installed and bonded correctly to the surface. Also, it's a good idea to use high-strength construction adhesive that is made for the particular surface and conditions where you plan to install your panel. This will ensure that the bond is stronger and will last longer. Finally, verify every now and then after installation that the Geomat is well stick down and if necessary to recondition it. Following these best practice tips you can be sure to achieve a successful installation of 3D Geomat which has good bonding and durability.